Well, I thought it would be good to add a page that shows why I have not been working on the Pantera.
Here are a couple of reasons.
Home renovation to create a play room for our twins and get get a lot of their stuff out of the main point of the house. This has taken me about 4.5 years, but only really 3.5 as I lost a year with another distraction - more on that latter.
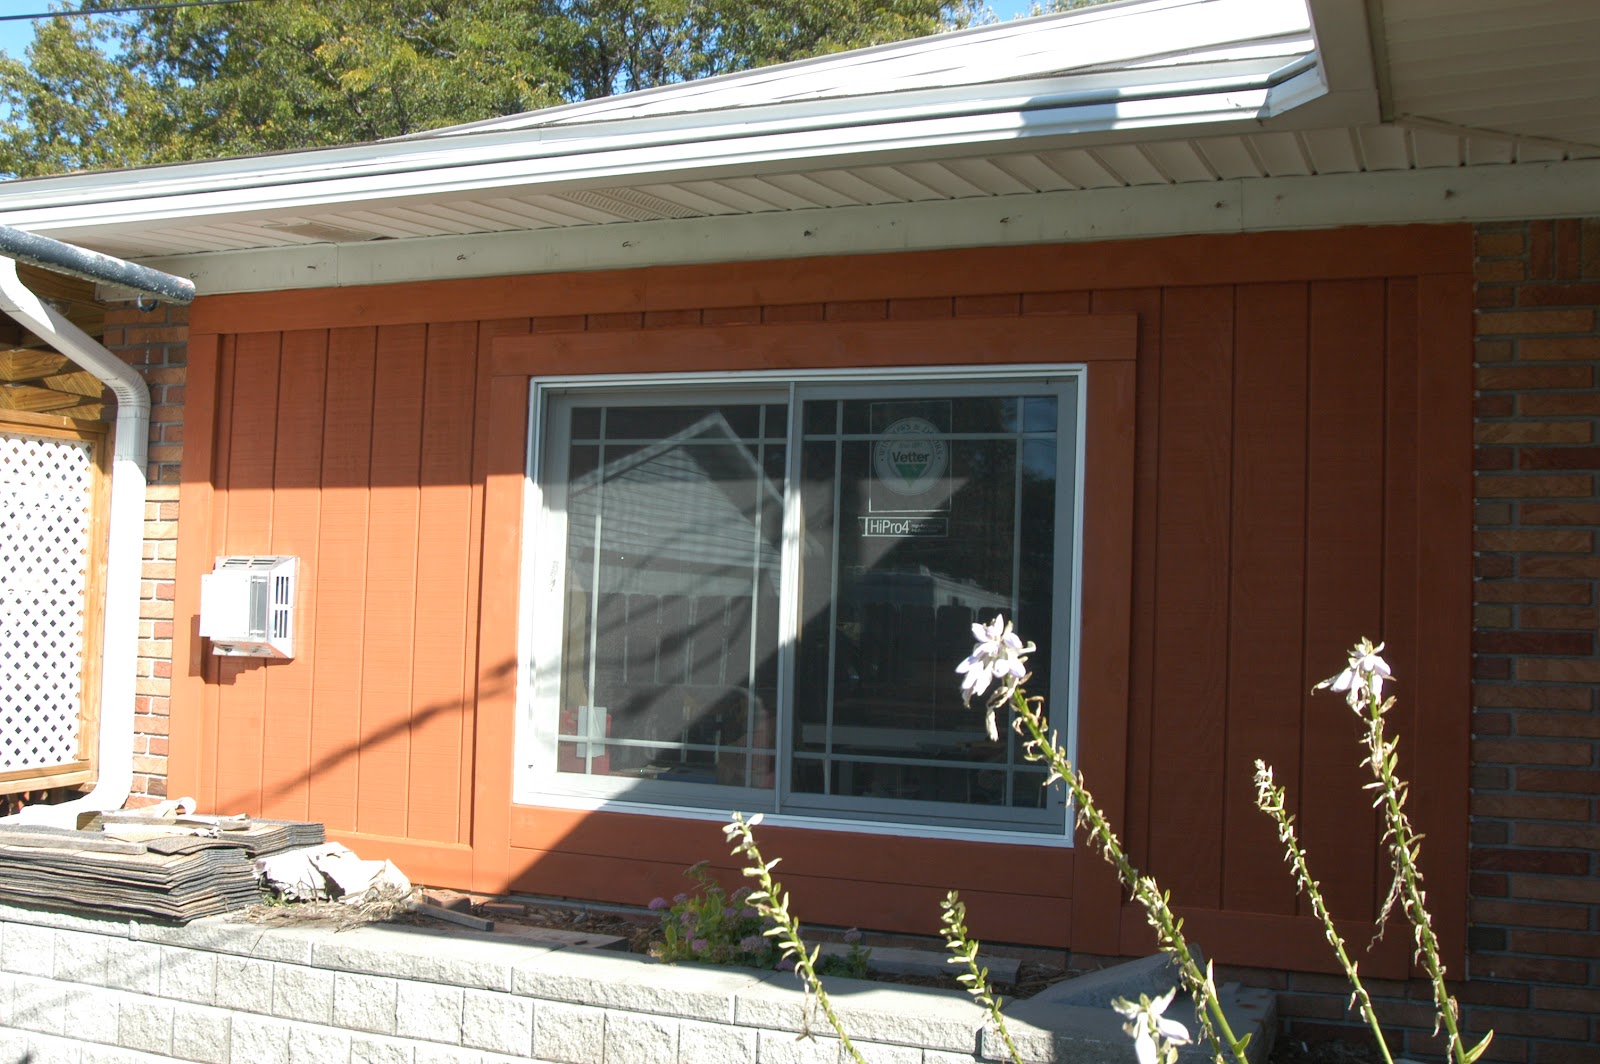
Here is the room before I started.
South Wall

North Wall
You can see the slope of the concrete falling away!

South Wall again

A better view of the concrete on the South wall


New flooring going in.


Sleeper floor being installed and insulated.

Exterior walls starting!
My Dad checking things out!

My Dad taking a breather

Re-structuring the North wall and frame up of new window and doorwall.

One wall enclosed

West wall!

Removal

Frame Up


Exterior


Ceiling

The original electrical was a disaster. I do not know how I did not have a fire.


PILE of material soon to be turned into "box beams"

Taking shape

An idea of the detail at the intersections

Walls
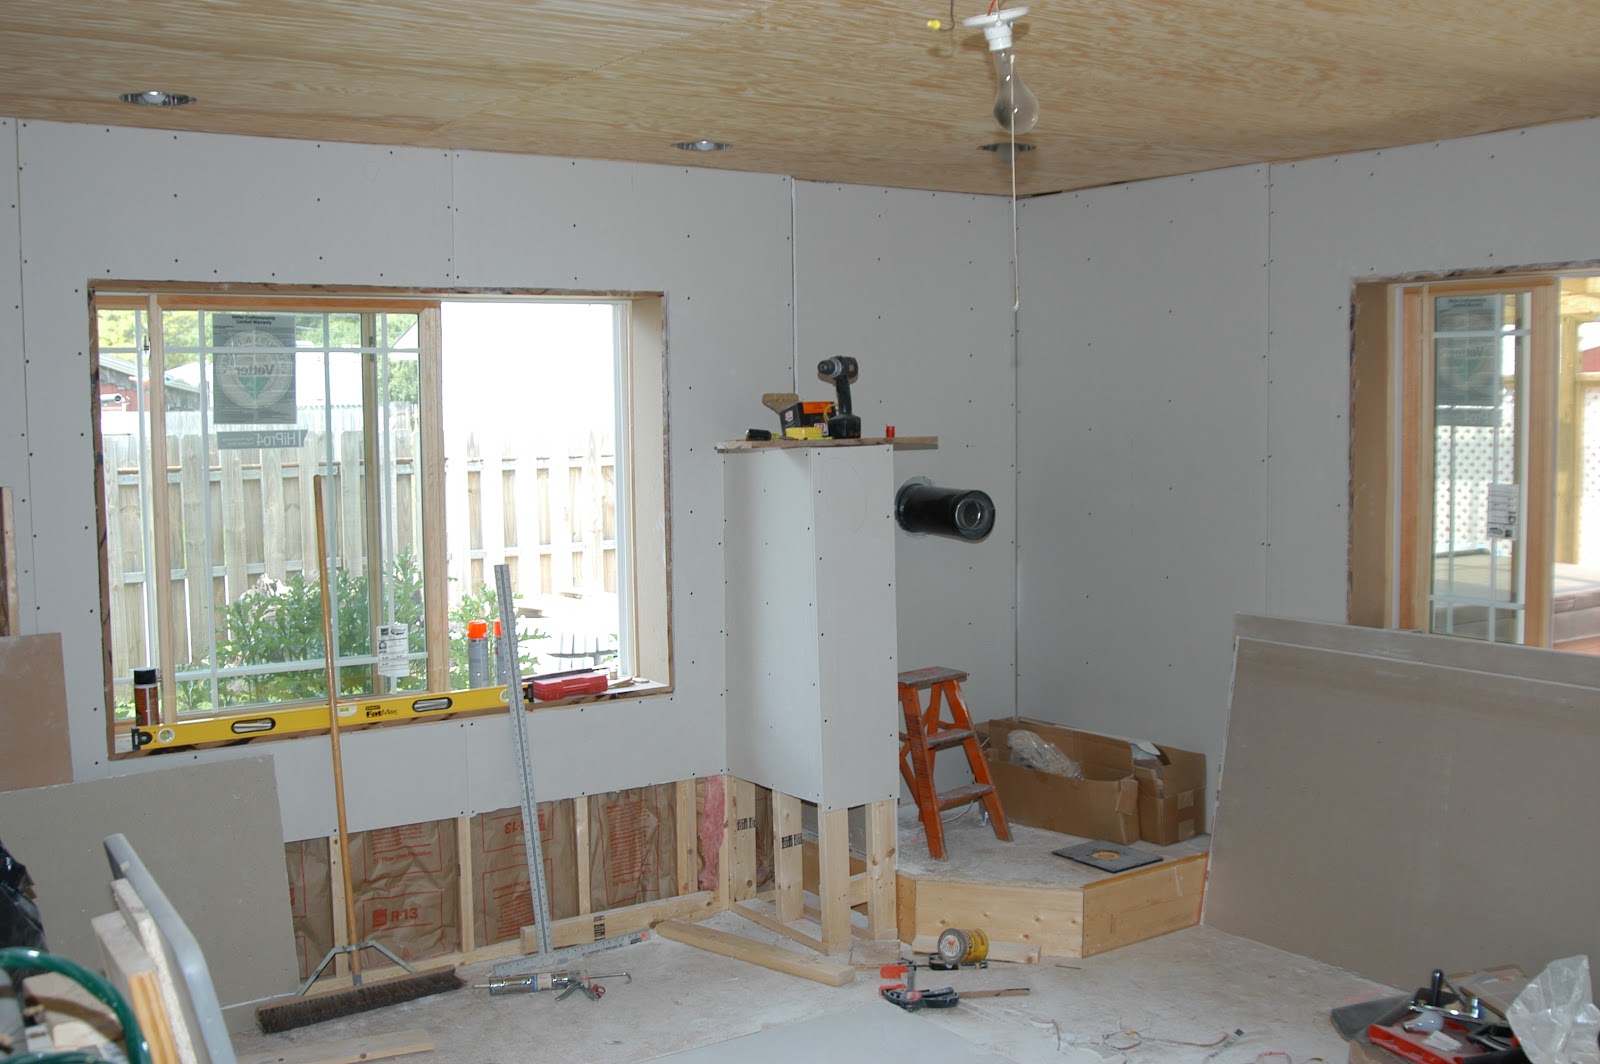


This would soon become one of my favorite tools!
Not sure how much dust I made with this, but I know it was over 100 lbs for the project based on the bags from the dust collector!

The start of the arts and crafts style trim work


Styles and rails for the raised panel wainscoting
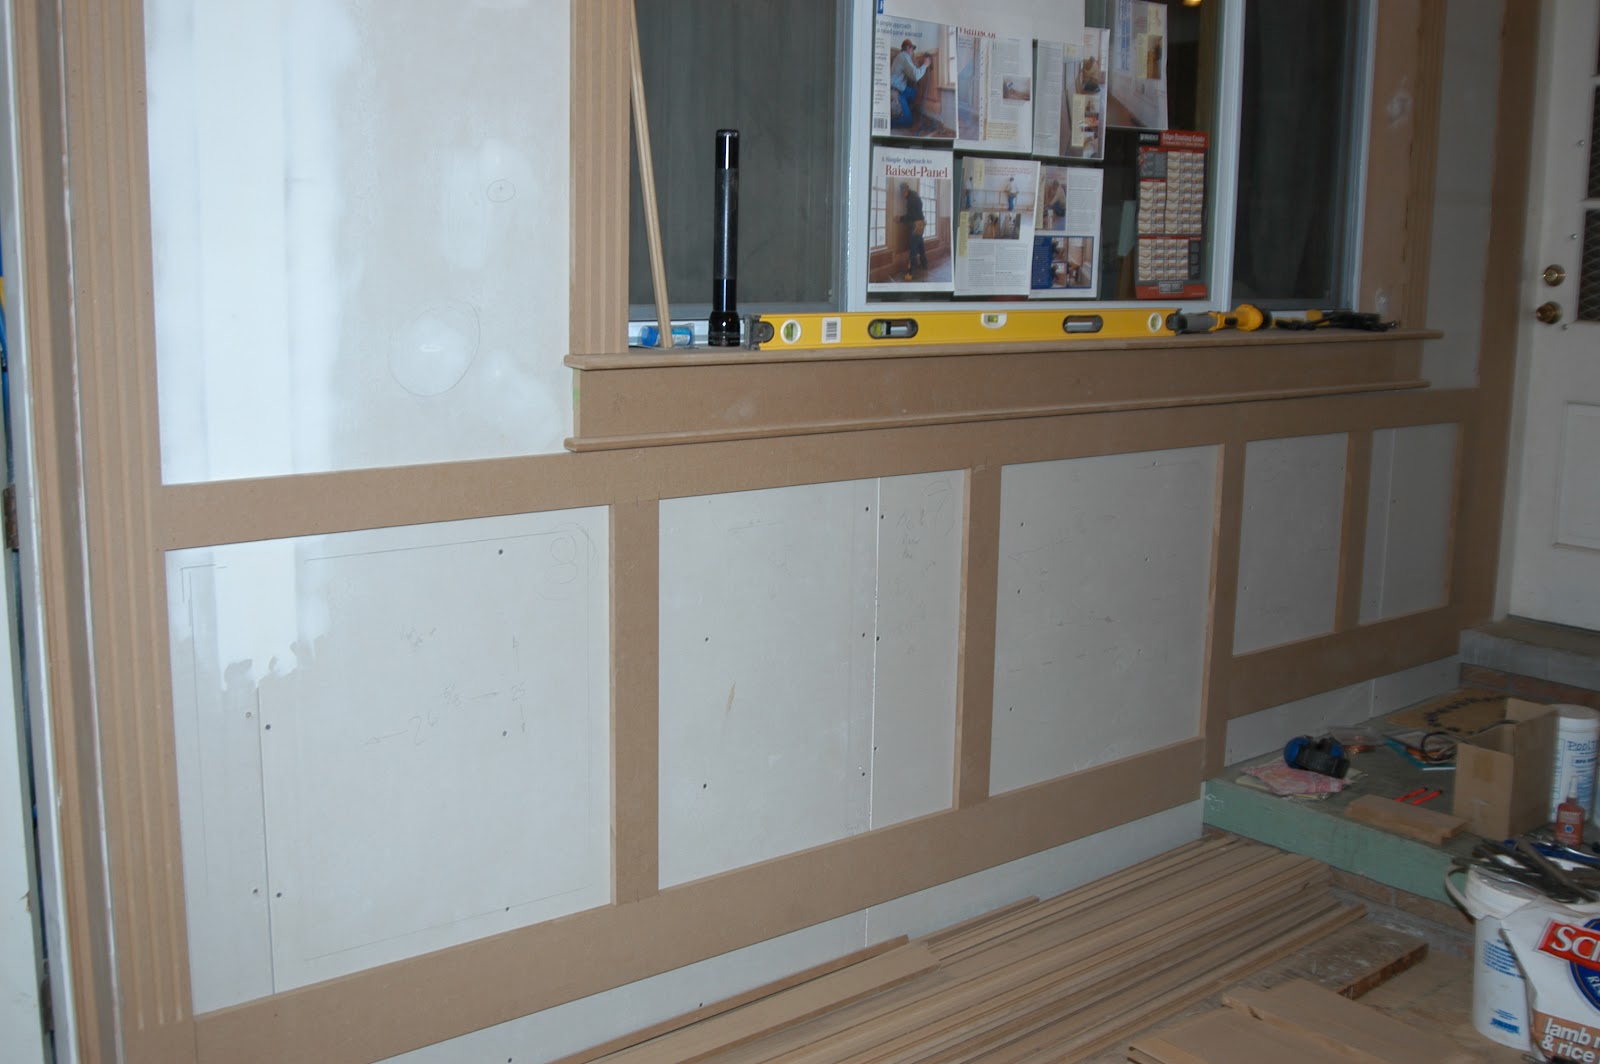
Raised panels installed and waiting for final trim out with a panel molding. That panel molding is the only one I could not make on the router table I had to break down and buy it.


And now everything all filled in and ready for primer.


It was just after I got everything all primed and painted that I had to have a structural engineer come out to the house and investigate why the front half of the house was shifing on me and preventing me from opening and closing my doors.
Turns out the house was sinking on the foundation.
A reapir plan was developed and the room that I was just finishing had to be partially torn up to stabilize the rear wall of the house.
Here is that additinal 1 year of work / delay on finishing this project.
And so it begins.
Day One - begining demolition

First of MANY piles of dirt / concrete they hauled away from my house.

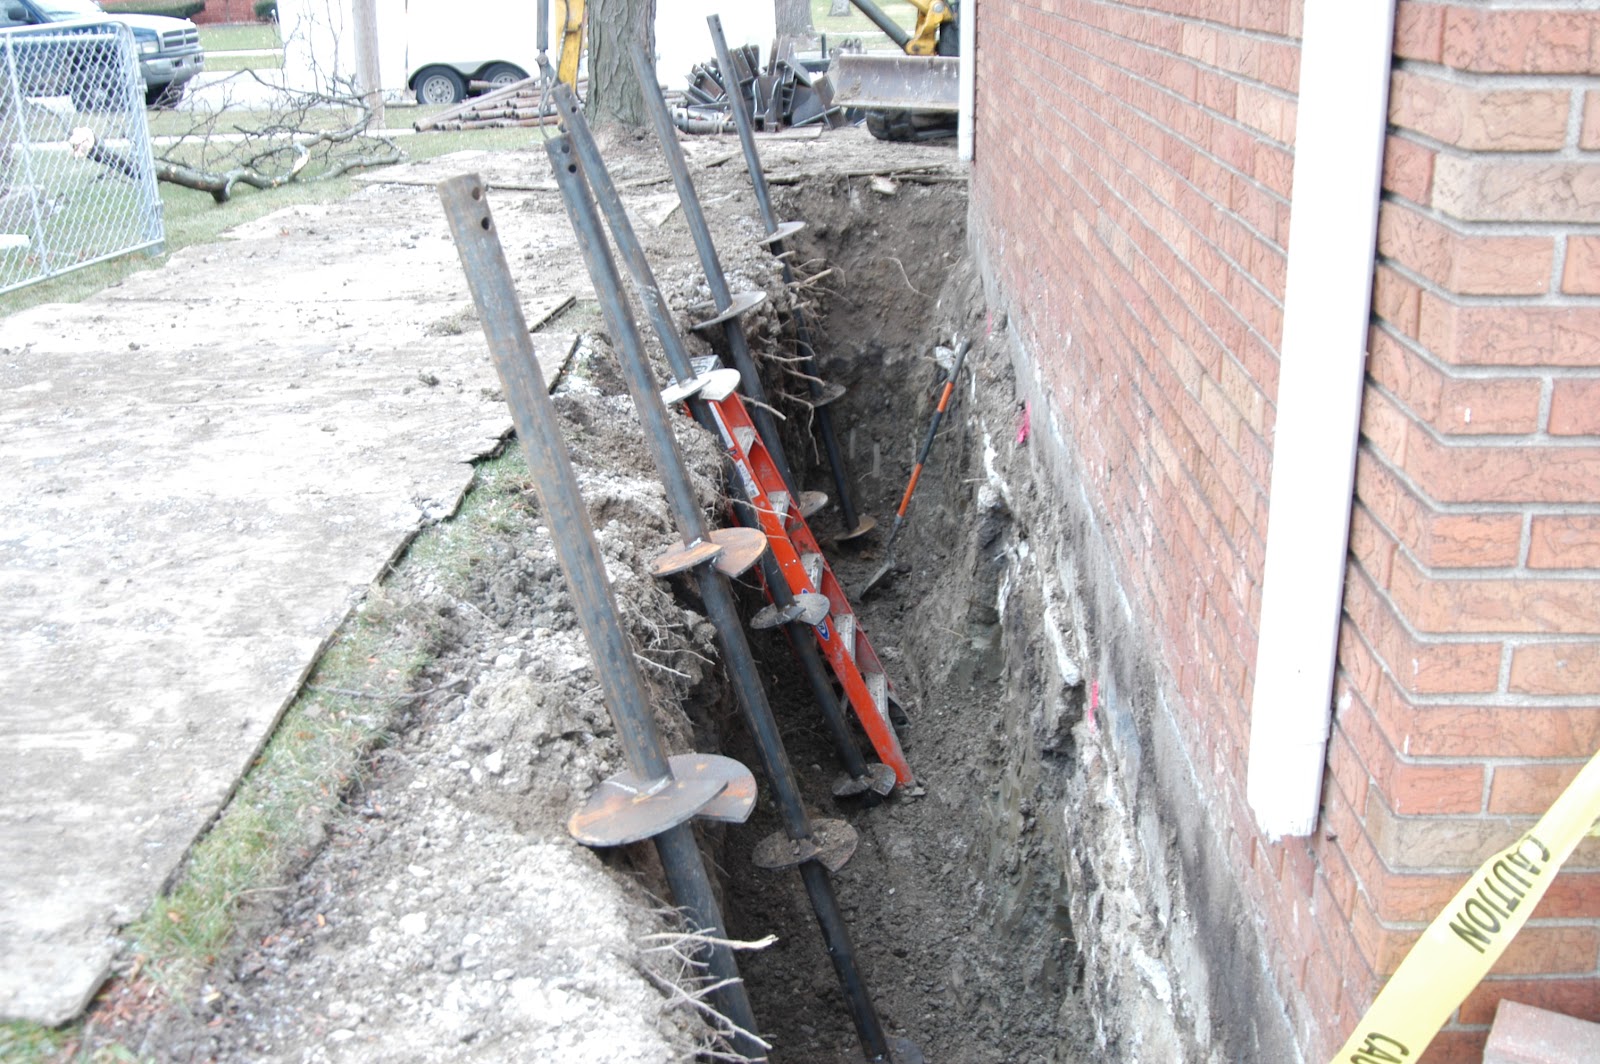
These are some of the helical piers they installed. Disk size is 10", 12", and 14"

These are the brackets that bolt to the house and the piers bolt to these. They are 9/16" steel and a good 100 lbs/ bracket!

This is the exterior wall of the garage getting ready for the piers to be installed.
These are driven into place with a driver head on the excavator in the background. The torque to turn is measured. There are curves that represent Torque = stabil load carrying ability and the structural engineer specifies the load needed for each pier.
Extensions are bolted into place as these are driven into the ground. They keep driving these until the proper torque / load is achieved. These averaged ~26' deep.
My inside garage wall. Notice the door which is the room that I had been working on.

Got some holes now in the garage to stabilize that wall.

This is the vestibule where we mostly come in and out of the house. You can see this door in the first picture behind the tree. This picture is taken from the garage.

Anen't those supposed to be in a flush line?

This is what was discovered in the playroom I build behind the raised panels.
I could stick 2 fingers in that gap and not touch anything behind it.

A crack in the new drywall right above the door to the garage. There is NOT a drywall seam there as you can see when you look at the drywall installation pictures above.

Really? I know I can do a beter miter then that. That is about 3/8" gap that had opened up.

Trying to protect all the raised panels. Notice all subfloor removed.

Now this room has 2 holes in it too!

That does not look like a 42" footing!
This is the doorway to the vestibule from the garage.

Isn't there supposed to be a footing between the garage doors?

Stabilizing the front of the house.

Trying to stabilize the partial footing under the vestibule.

Over 20 yards of rock in the garage for fill.
You cannot get an idea of the height o this pile due to the angle, but it was BIG.

OOPS, garage floor partially out.

Here is another pile of concrete they had to haul away. All in all they hauled over 80 yards of dirt and concrete.

Fixing the lack of a footing between the garage door opening.
3 piers were added and rod was drilled into the footing of the house about 3' deep.
These were then tied to the piers. As the concrete was poured more rod was added. You can see the additional holes drilled in this picture.

That should do it.
8 yards of 5000psi concrete with rod and fiber mesh.

Garage is really cleaned out.

All the flat work is done and they are saw cutting in the garage.
I ended up needing a new driveway because when they lifted the house it was about 5" lower then the garage. I also ended up getting a full new garage floor as well because then they poured the front half to match the new height the back slabs were about 1.5" low. I did not want them to blend the new concrete with the old so any water would run into the garage and pool there.
What is not in this picture is a very nice stamped concrete porch that was done as well.
After 12 months and no home insurance help the job is done!

I won't bore you with all of the work needed to put the playroom back together, but it was a lot of cleaning, drywall, re-making a LOT of moldings, and re-painting almost the entire room.
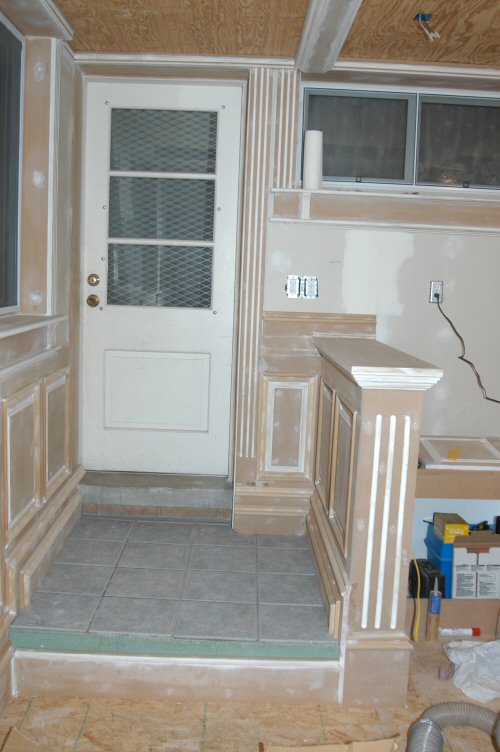
This is how it turned out.
It was done in time for our Twins 1st Communion party on May 5th with 2 days to spare.


This is the vestibule shown in the pictures above.
I ended up pulling out all the wet plaster because it was so broken from the house moving I was afraid it would fall down if someone shut any of these doors to hard.
I made all the trim to match the playroom.
That is our dog Hanna keeping on eye on what I am doing to make sure it is done right!


Last memorial day I had to do some emergeny plumbing repair as well due to a plugged vent stack.
As this is the only real bathroom in the house it was a bit of a problem.
I had to take out the wet plaster wall and ceiling leading into the basement to get to the stack.
After cutting out the cast iron stack and putting the new in plastic I also redid all the plumbing in the bathroom at the same time while the walls were open.
After all the drywall I made the trim to also match the playroom here as well.

A shot from the basement up towards the playroom.

Before the whole foundation thing. I ended up building an oak stand for a 120 gal saltwater tank.
The tank is still sitting empty as all of my extra money got thrown into a hole in the ground. LITERALLY!

I also did a wrap around mantel in oak as well to match.

Now I hope to get back to the car and do some real work.
There are a few things staring me in the face though.
I need to paint my Ducati here soon. It is all in primer and I have the paint. Just need some time.
This winter will see the installation of a basement bathroom as well.
Never a dull moment.
Wow Brian! That's a ton of work! Hopefully the house woes are behind you and you can focus on your car now (and the Ducatti). Good luck!
ReplyDelete